How to bury dog fence wire? This question pops up in mind, especially while making a DIY fence. Installing an underground dog fence is a fantastic way to keep your furry friend safe within your property while giving them the freedom to roam. However, one crucial aspect of this installation is burying the dog fence wire properly.
In this comprehensive guide, we will walk you through the step-by-step process of burying dog fence wire, covering various practical methods to ensure a successful installation.
Tools and Materials:
Before we dive into the process, gather the necessary materials.
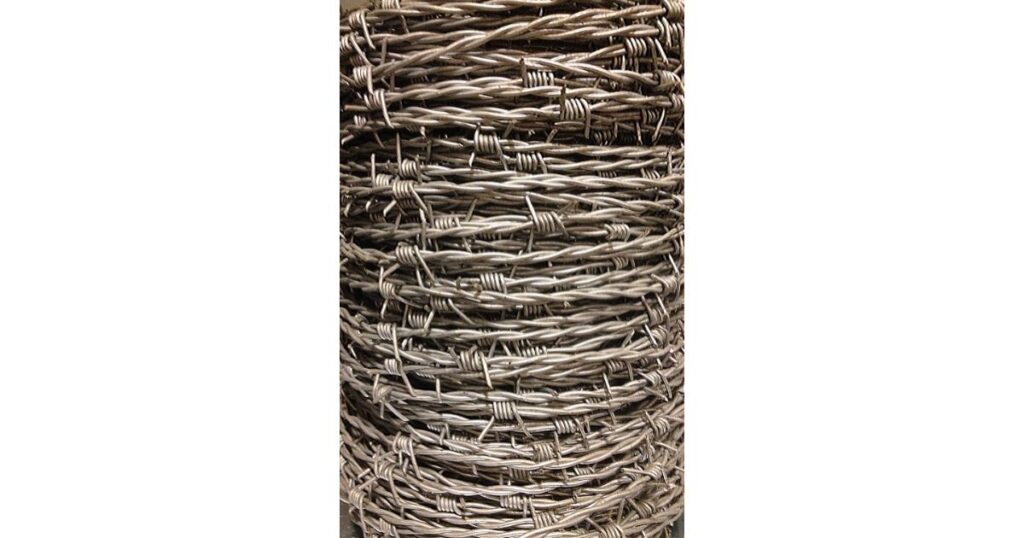
- Dog fence wire (typically 20-14 gauge)
- Dog fence transmitter
- Boundary flags
- Wire connectors
- Wire splicing kit
- Garden spade or edger
- Shovel
- Measuring tape
- Lawn staples or ground staples
- Wire locator (optional)
How to bury dog fence wire. Steps wise Plan.
Step 1: Plan Your Layout Start by mapping out your fence boundary. Consider the areas where you want your dog to stay and those you want to keep them out of. Use boundary flags to mark the perimeter of your desired boundary.
Step 2: Dig a Trench Using a garden spade or edger, dig a trench along the marked boundary. The depth of the trench should be at least 2-4 inches deep, ensuring that the wire is well-protected from the elements and potential damage.
Step 3: Install the Wire Lay the dog fence wire into the trench, following the marked boundary. Make sure to leave extra slack near the corners and at the transmitter’s location. It’s crucial to avoid any sharp bends in the wire, as this can affect the signal.
Step 4: Secure the Wire To prevent the wire from shifting or moving within the trench, use lawn staples or ground staples to secure it every 4-6 feet. This will help maintain a consistent boundary.
Step 5: Connect and Splice When you need to connect or splice wires (e.g., if you need to extend the wire), use wire connectors and a wire splicing kit. Follow the manufacturer’s instructions for proper connections.
Step 6: Test the System Before burying the wire completely, it’s essential to test the system to ensure it’s working correctly. Connect the wire to the transmitter, turn the system on, and walk the perimeter with your dog’s collar. Adjust the signal range as needed.
Step 7: Backfill the Trench Once you are satisfied with the system’s functionality, carefully backfill the trench with soil. Make sure the wire is at the recommended depth of 2-4 inches. Avoid using heavy machinery that might damage the wire.
Step 8: Conceal the Wire To protect the wire further and make it less visible, you can plant grass seed or lay sod over the trench. This will help the wire blend seamlessly into your lawn.
Step 9: Monitor and Maintain Regularly inspect the dog fence wire for any signs of damage, such as exposed wire or broken connections. If you encounter any issues, repair them promptly to ensure the system continues to work effectively.
Additional Tips:
- Use a wire locator tool if you need to locate or repair specific sections of the wire.
- Make sure to follow the manufacturer’s guidelines and recommendations for your specific dog fence system.
- Educate your dog about the new boundaries and how the system works to keep them safe.
Conclusion:
Burying a dog fence wire may seem like a daunting task, but with the right tools and a well-thought-out plan, it can be accomplished effectively. Proper installation ensures that your dog remains safe and secure while enjoying the freedom to explore their designated area. Remember to regularly inspect and maintain the system to keep it in top working condition. By following these instructions, you’ll create a safe and happy environment for your furry companion.
FAQs And Answers
How do you dig a trench for a dog fence?
To bury a dog fence wire under a gravel driveway, follow these steps:
- Prepare the Tools: Gather a trenching tool, shovel, wire splicing kit, and a length of PVC conduit or garden hose.
- Plan the Route: Determine the desired path for the wire beneath the driveway. Avoid sharp angles and make sure it’s deep enough to prevent damage from vehicle traffic.
- Dig the Trench: Use the trenching tool or shovel to dig a trench along the planned route. The depth should be about 2-3 inches below the surface to protect the wire.
- Insert Conduit or Hose: Place the PVC conduit or garden hose into the trench. This will serve as a protective sleeve for the wire.
- Feed the Wire: Thread the dog fence wire through the conduit/hose and lay it inside.
- Cover with Gravel: Carefully backfill the trench with gravel, ensuring the wire remains inside the conduit/hose.
- Test the System: After covering, test the dog fence to confirm it’s functioning correctly.
How do you dig a trench for a dog fence?
Digging a trench for a dog fence is a crucial step in the installation process. Here’s a comprehensive guide on how to do it effectively:
1. Gather Necessary Tools: Start by gathering the essential tools for the job, including a shovel, a trenching spade, a measuring tape, flags or stakes, and safety gear like gloves and eye protection.
2. Plan Your Route: Decide on the boundary for your dog fence, taking into consideration your pet’s needs and any landscaping features. Use flags or stakes to mark the fence line.
3. Check Local Regulations: Before digging, check with local authorities or utilities to ensure you won’t interfere with underground lines or require permits.
4. Determine Depth and Width: The trench should be approximately 2-3 inches deep and 1-3 inches wide, depending on the type of wire you’re using. Follow the manufacturer’s guidelines for specific dimensions.
5. Start Digging: Begin digging the trench along the marked boundary, using the trenching spade for precision. Angle the trench slightly inward so that the bottom is wider than the top, ensuring the wire can be properly buried.
6. Lay the Wire: As you dig, place the dog fence wire in the trench, making sure it’s centered at the bottom. Leave a little slack at the corners and turns to prevent tension on the wire.
7. Cover and Secure: Once the wire is in place, carefully backfill the trench, ensuring the wire remains at the correct depth. Tamp down the soil to secure the wire in position.
8. Test the System: After burying the wire, follow the manufacturer’s instructions to connect and test your dog fence to ensure it’s functioning correctly.
By following these steps, you can dig a trench for your dog fence that effectively contains your pet while keeping the wire secure and hidden. Always prioritize safety and accuracy during the installation process.
How do I block a gap under my dog fence?
To block a gap under your dog fence, follow these steps:
- Assess the Gap: First, determine the size and location of the gap. Is it a small opening, or does it require a more substantial barrier?
- Use Landscape Fabric: For smaller gaps, consider using landscape fabric or weed barrier. Lay it flat on the ground and secure it with landscape staples or rocks.
- Install Garden Edging: For slightly larger gaps, garden edging can be effective. Bury it partially in the ground, extending above the gap, and secure it in place with stakes.
- Fill with Gravel or Stones: If the gap is under a gate or along a fence line, filling it with gravel or decorative stones can provide a solid barrier while maintaining drainage.
- Custom Solutions: For larger gaps, consider custom solutions like wooden boards or cement blocks, depending on your aesthetics and practical needs.
- Regular Maintenance: Periodically check and adjust your chosen barrier to ensure it continues to block the gap effectively